LS1 Oil Pan Swap
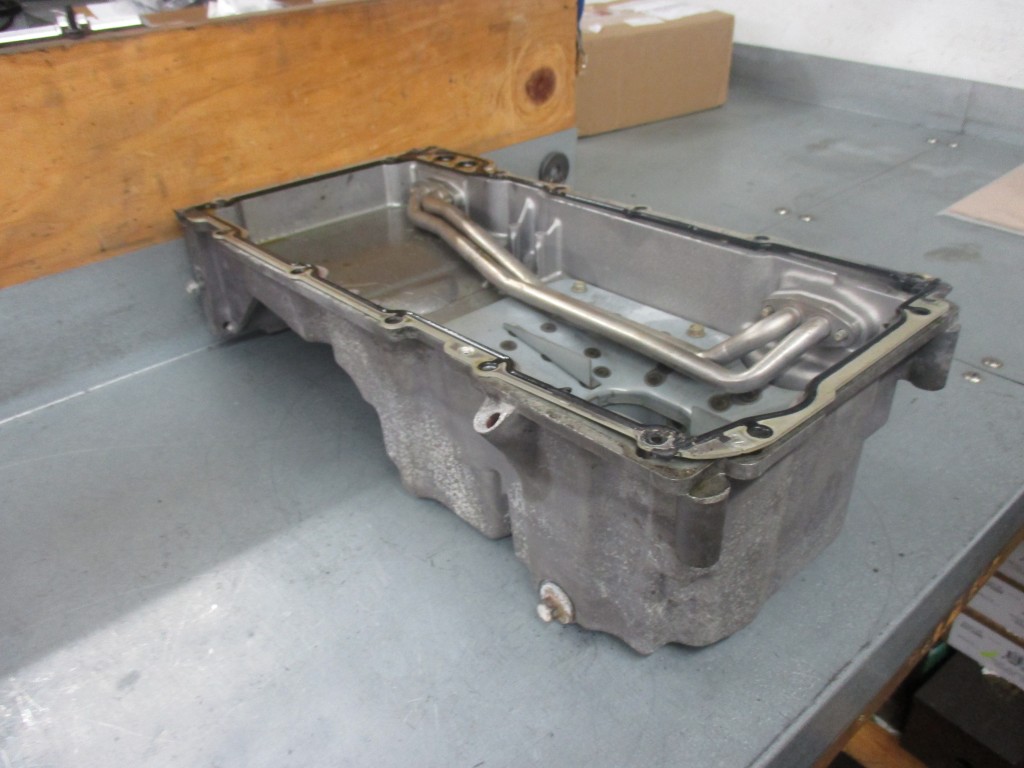
Today we will be going over how to do an oil pan swap on a LS1 engine. This LS1 is from a 2004 Pontiac GTO and we will be switching the stock oil pan with a 1999-2001 Chevrolet Camaro LS1 oil pan. The reason for this swap is that the GTO oil pan has a front mounted pump and the Camaro pan has a rear mounted pump. This allows the engine to fit better in some custom installs.
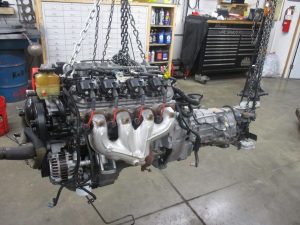
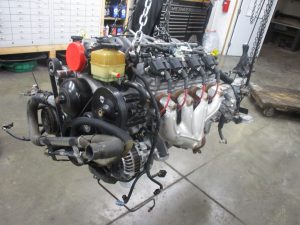
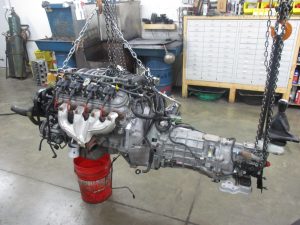
To start this oil pan swap you will need to drain all on the oil from your engine. Ours is already out of the car so we hung it in our engine shop to do this job.
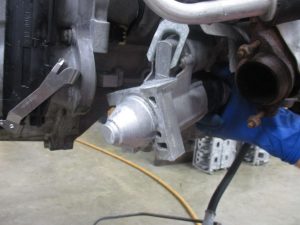
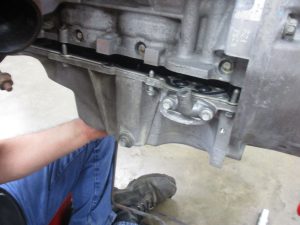
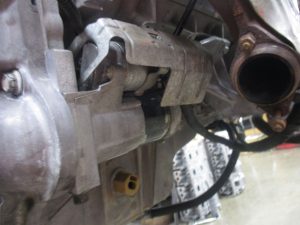
Now that the oil has been drained, We will need to remove the dust covers from both sides of the engine and the starter motor as these will be in the way.
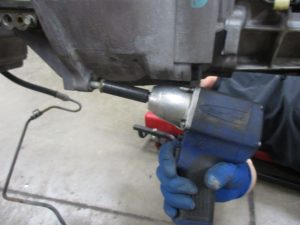
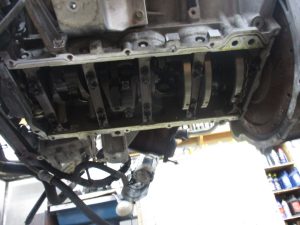
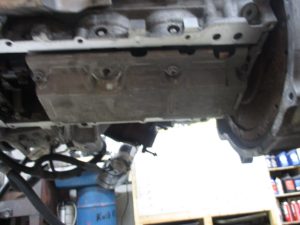
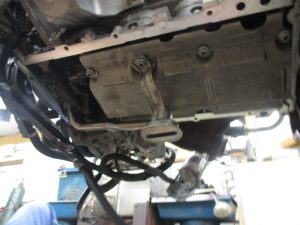
Once those are out of the way we can start to unbolt the oil pan and remove the dip stick. Once the pan is unbolted you will want to drop it out and set it to the side.
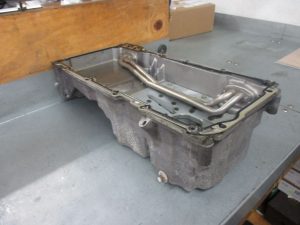
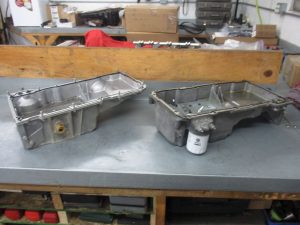
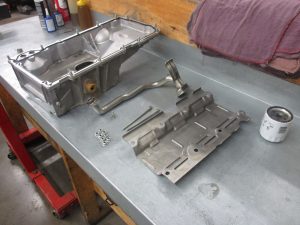
Now that we have the oil pan out you can see the differences between the GTO oil pan and the Camaro Oil pan.
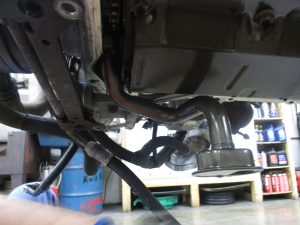
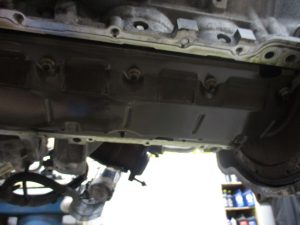
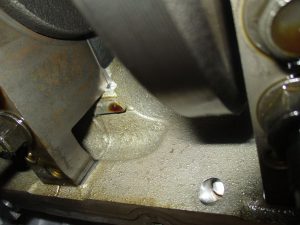
With the oil pan removed we will then need to removed the baffle and the pick up tube from the bottom of the engine. You will also want to remove the block plug for the new dip stick tube to be installed into that hole.
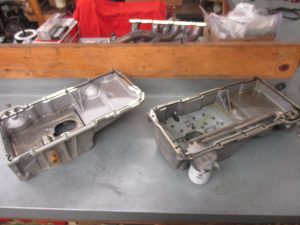
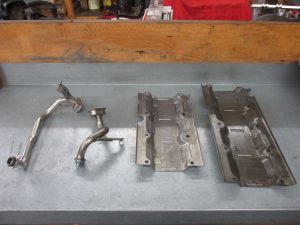
Now that we have removed all the old parts for this swap you will want to get all the new parts ready to be installed. We also set the old and new parts together so you can see the difference between the two styles.
At this point we can start to install the new baffle and pick up tube. The baffle will be bolted down first and then the pick up tube. These will need to be torqued down to spec.
With those parts installed, we will be sealing the 4 corners of the oil pan near timing cover and rear cover with black silicone. This will add a good seal to the oil pan when installed. At this point we will begin to mount the Camaro oil pan with the new seal on it. You will need to make sure that the pick up tube does not bind when you are bolting the pan on. Once the oil pan is in place you will want to install the new dip stick tube.
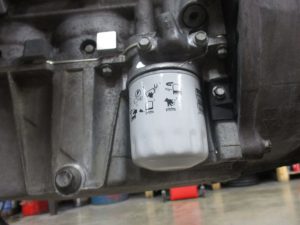
With both the pan and dip stick tube installed on the engine the next step is to mount both dust covers and the starter motor. The last step for this swap will be screwing the new oil filter into place. Once those are on, the oil pan swap is complete.
As always, feel free to email or call us with any questions at clevelandpap@yahoo.com and 866-236-5031.
Thank you for reading!
Sign Up
Sign up for our email list to get up-to-date news on projects and rebuilds!
HOURS
Tuesday-Friday
6:30am-5pm ET
Related Posts

C7 Corvette ZR1 Custom Made Rear Bumper Wall Art
